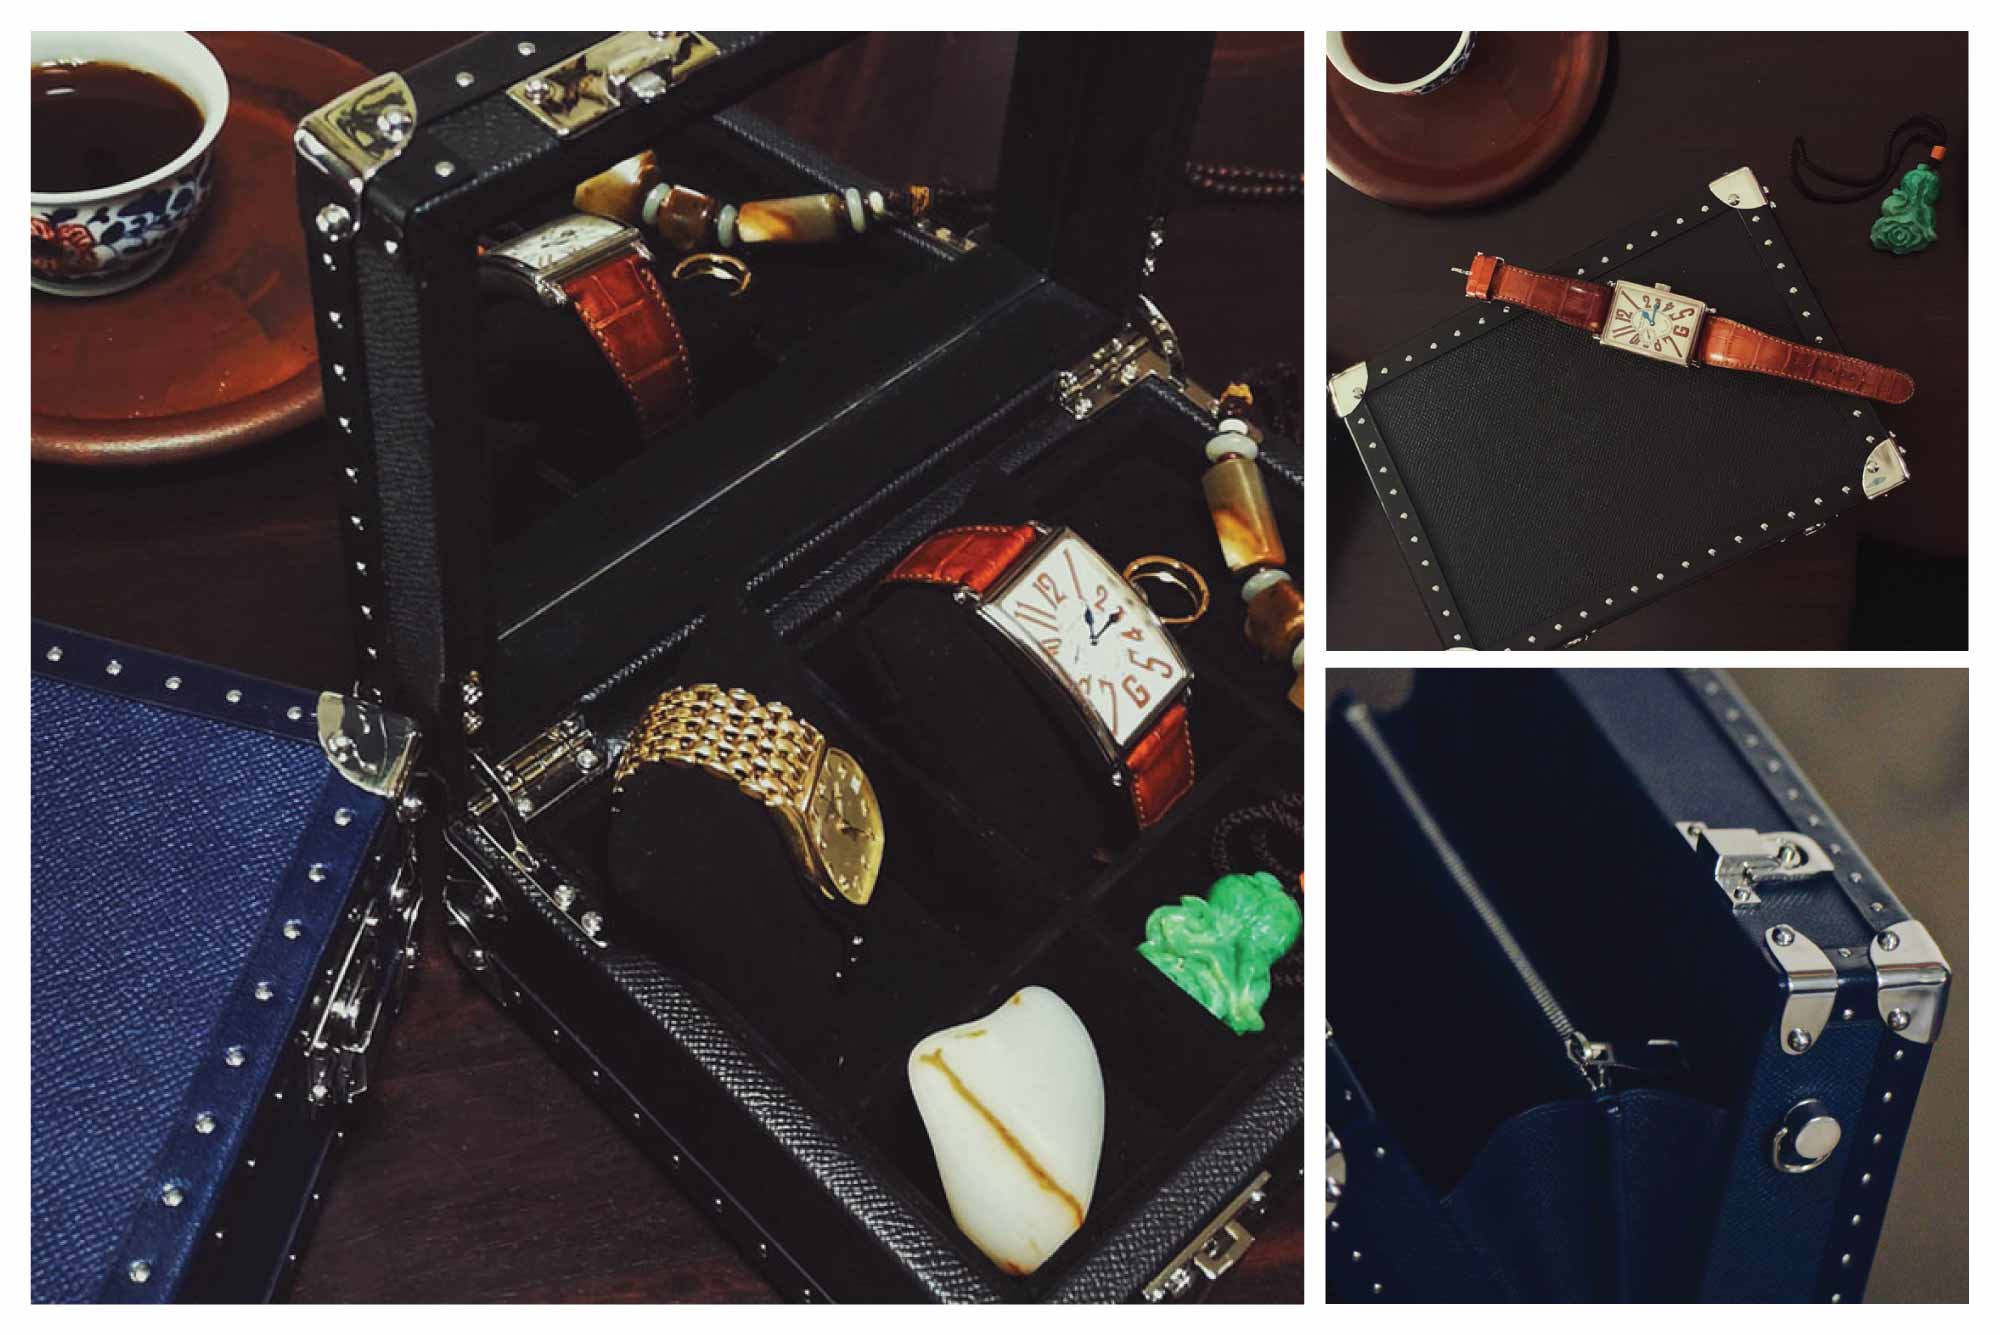
Black Trunk Bag Kit
DESCRIPTION:
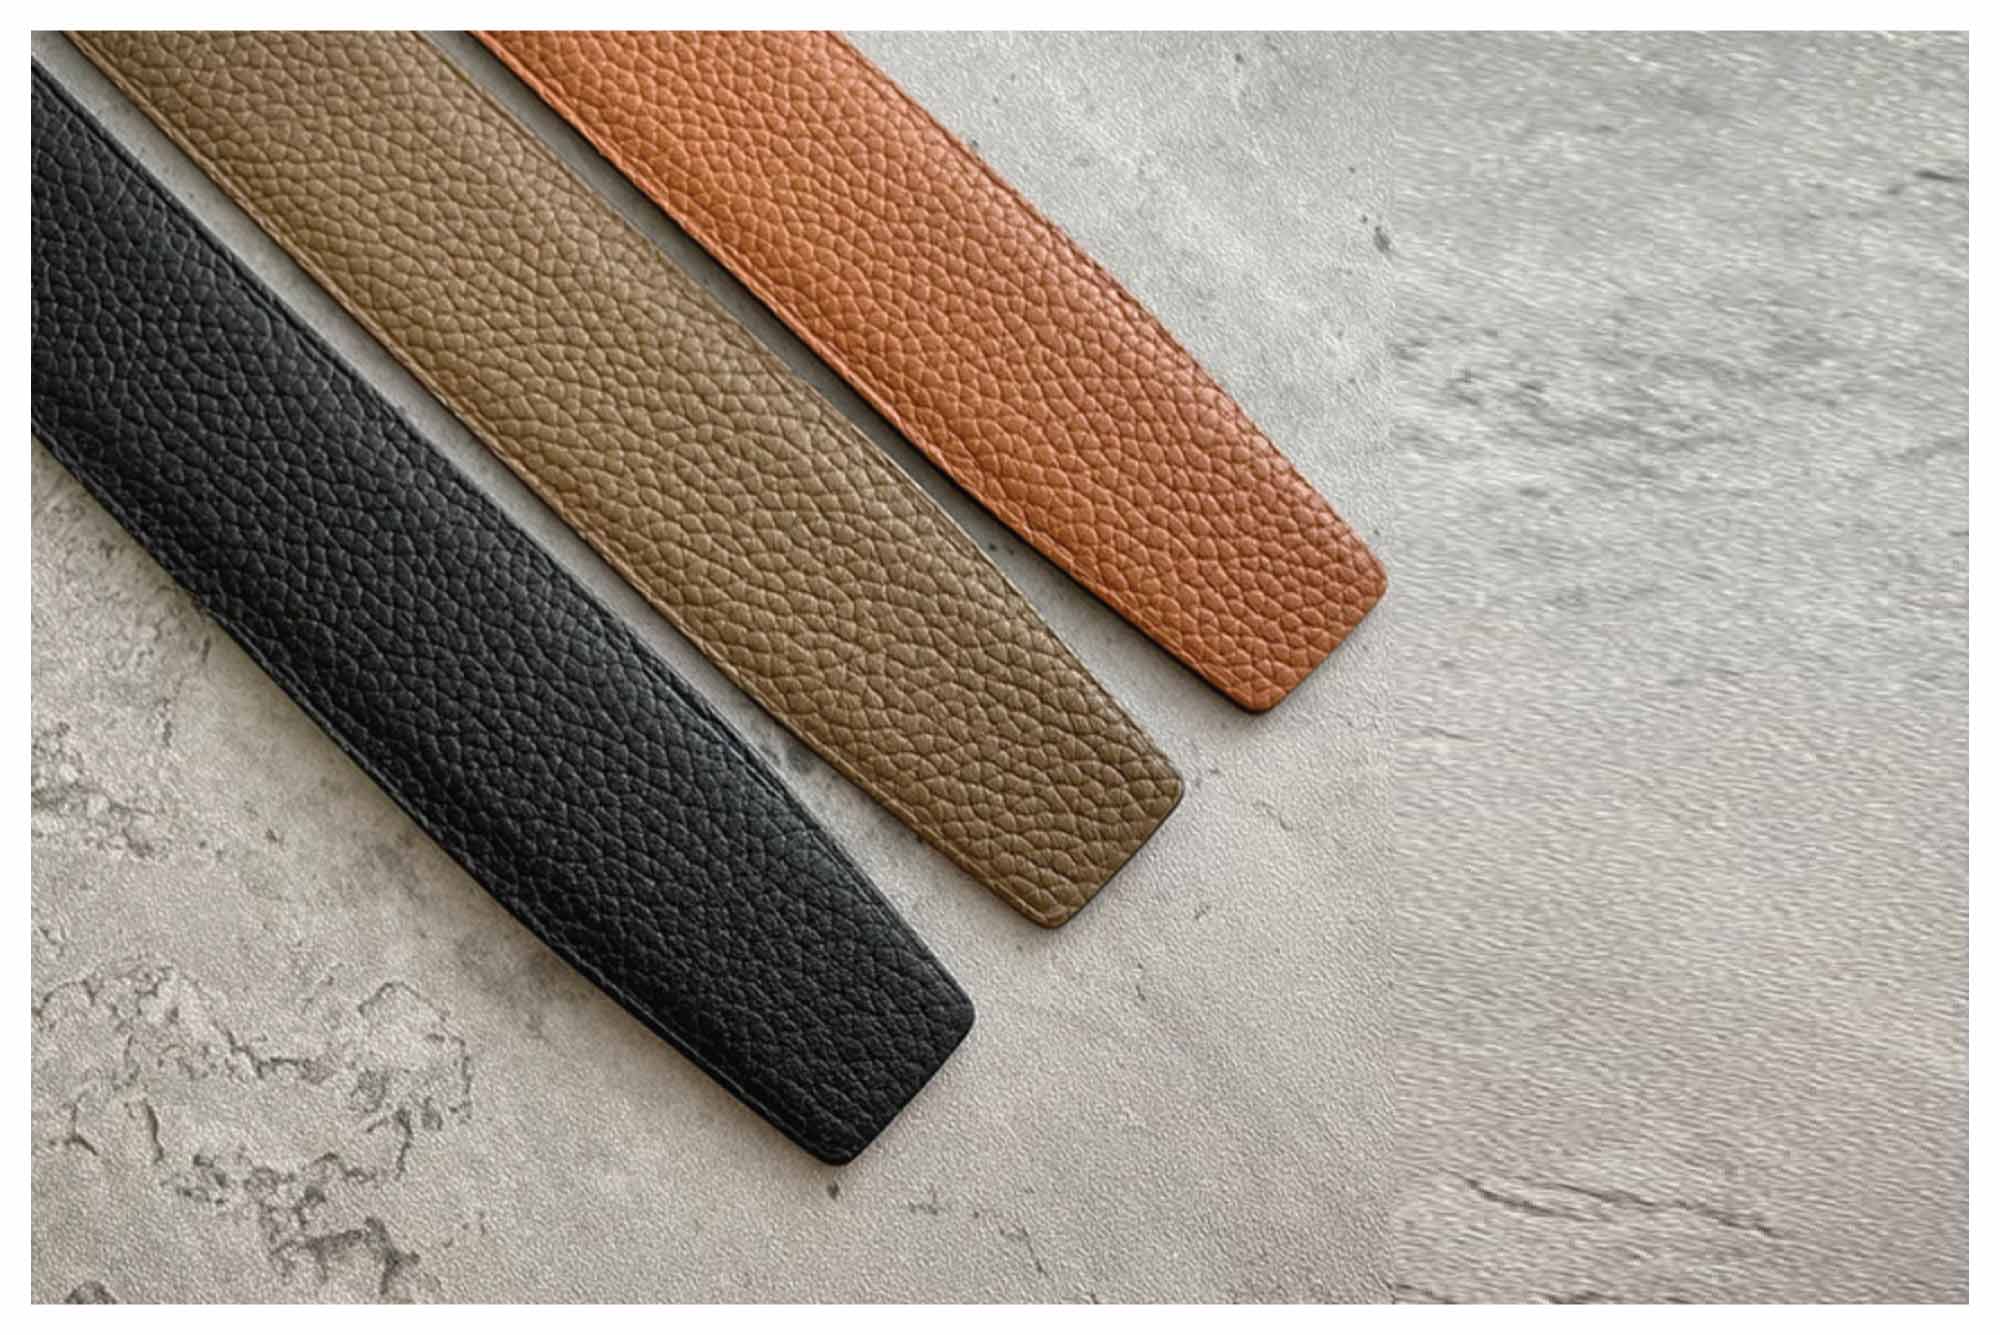
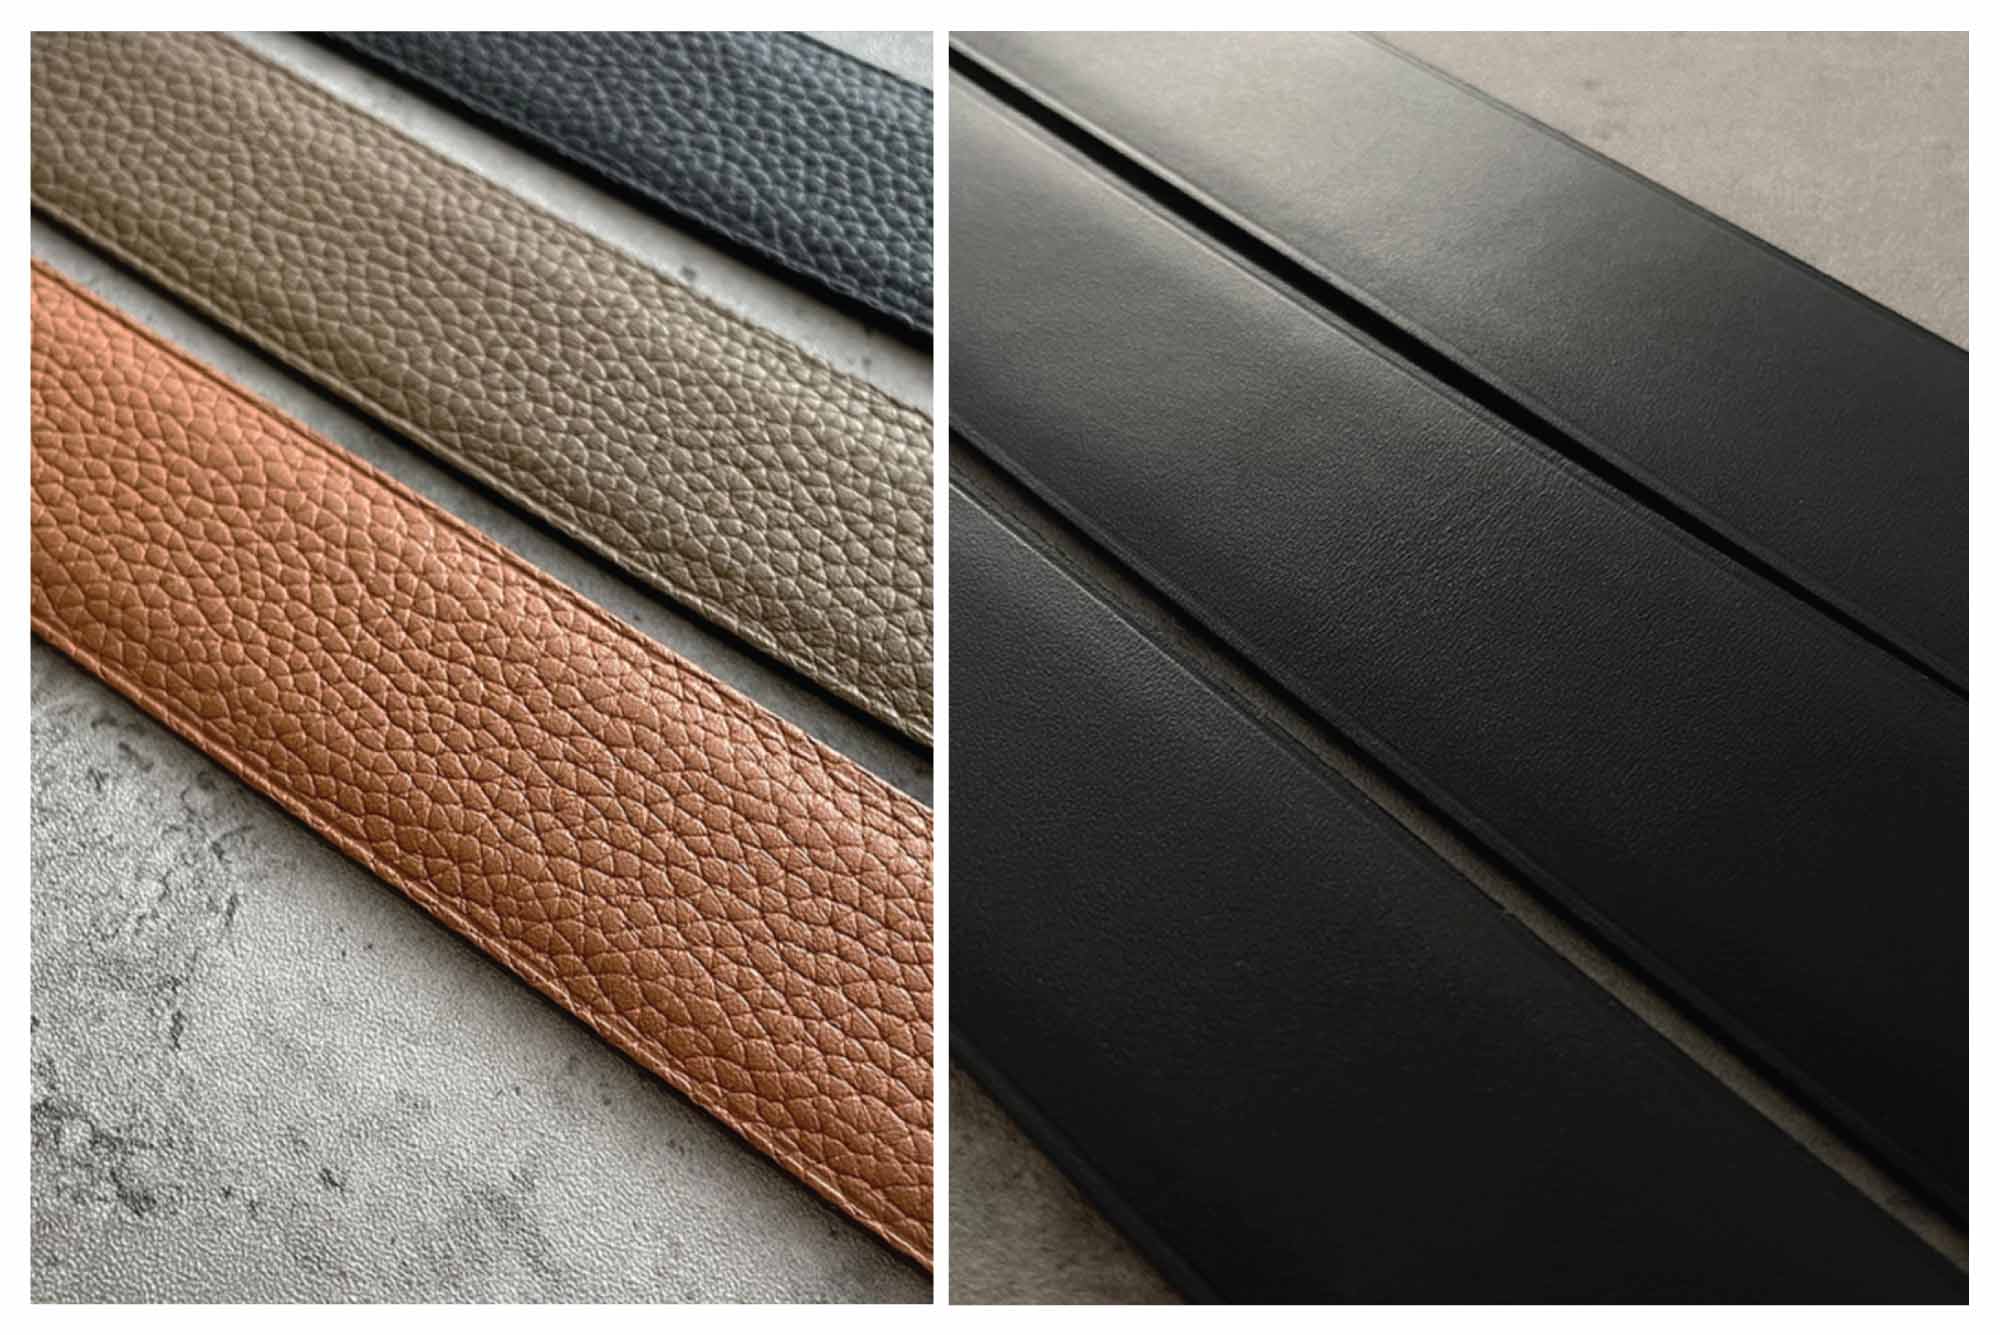
Unleash your creativity with this DIY Trunk Bag Kit, featuring all the essential components to craft a stunning hard-case bag. The kit includes premium hardware and a sturdy wooden frame, allowing you to mix and match leather for a fully customized look. Designed for intermediate leathercrafters, this kit is the perfect blend of craftsmanship and creativity.
Material :
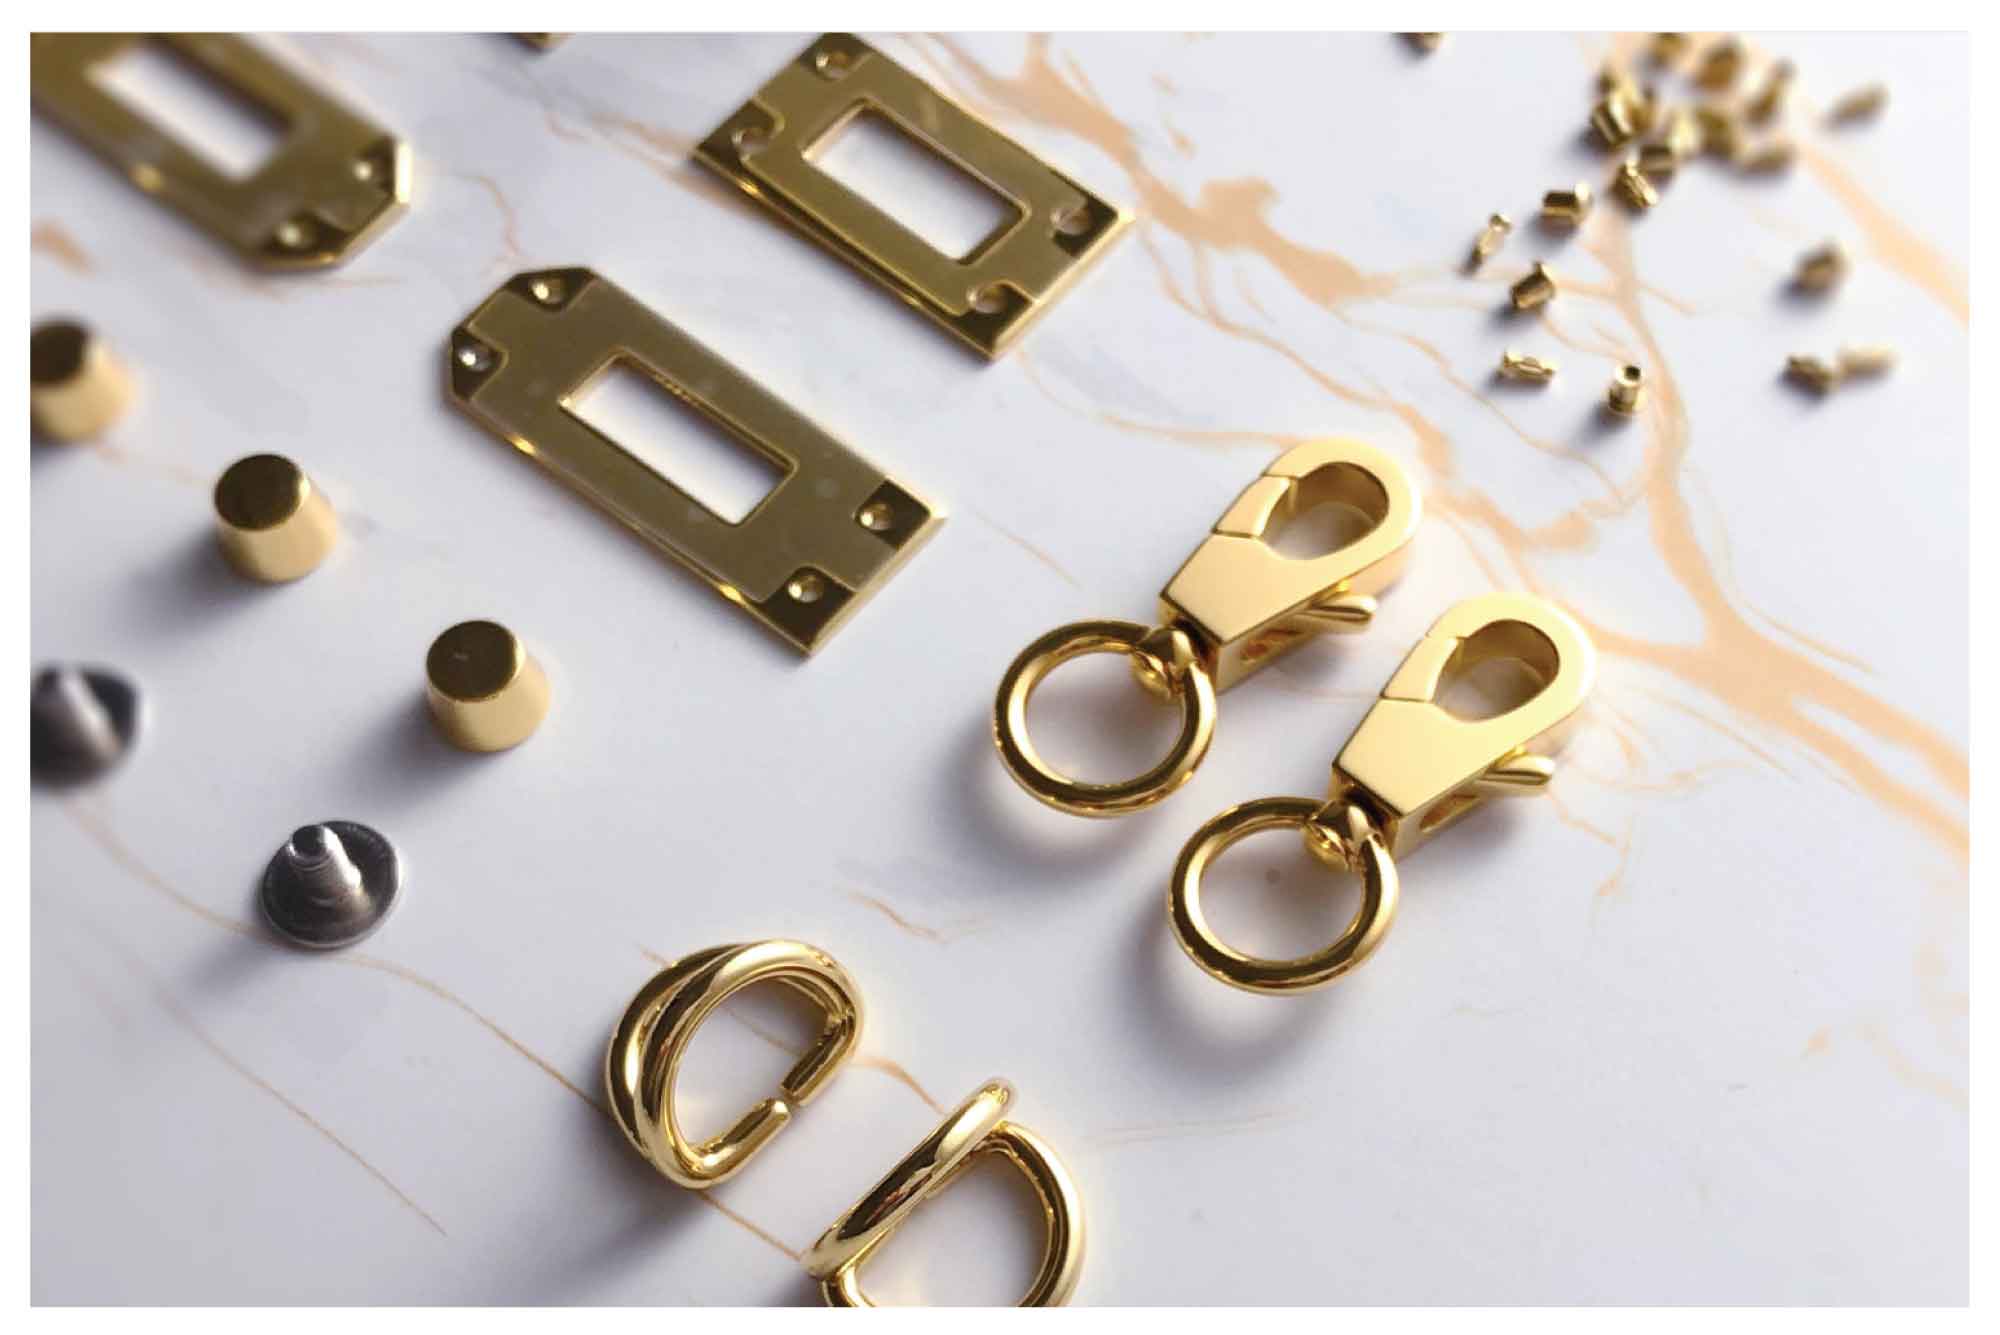
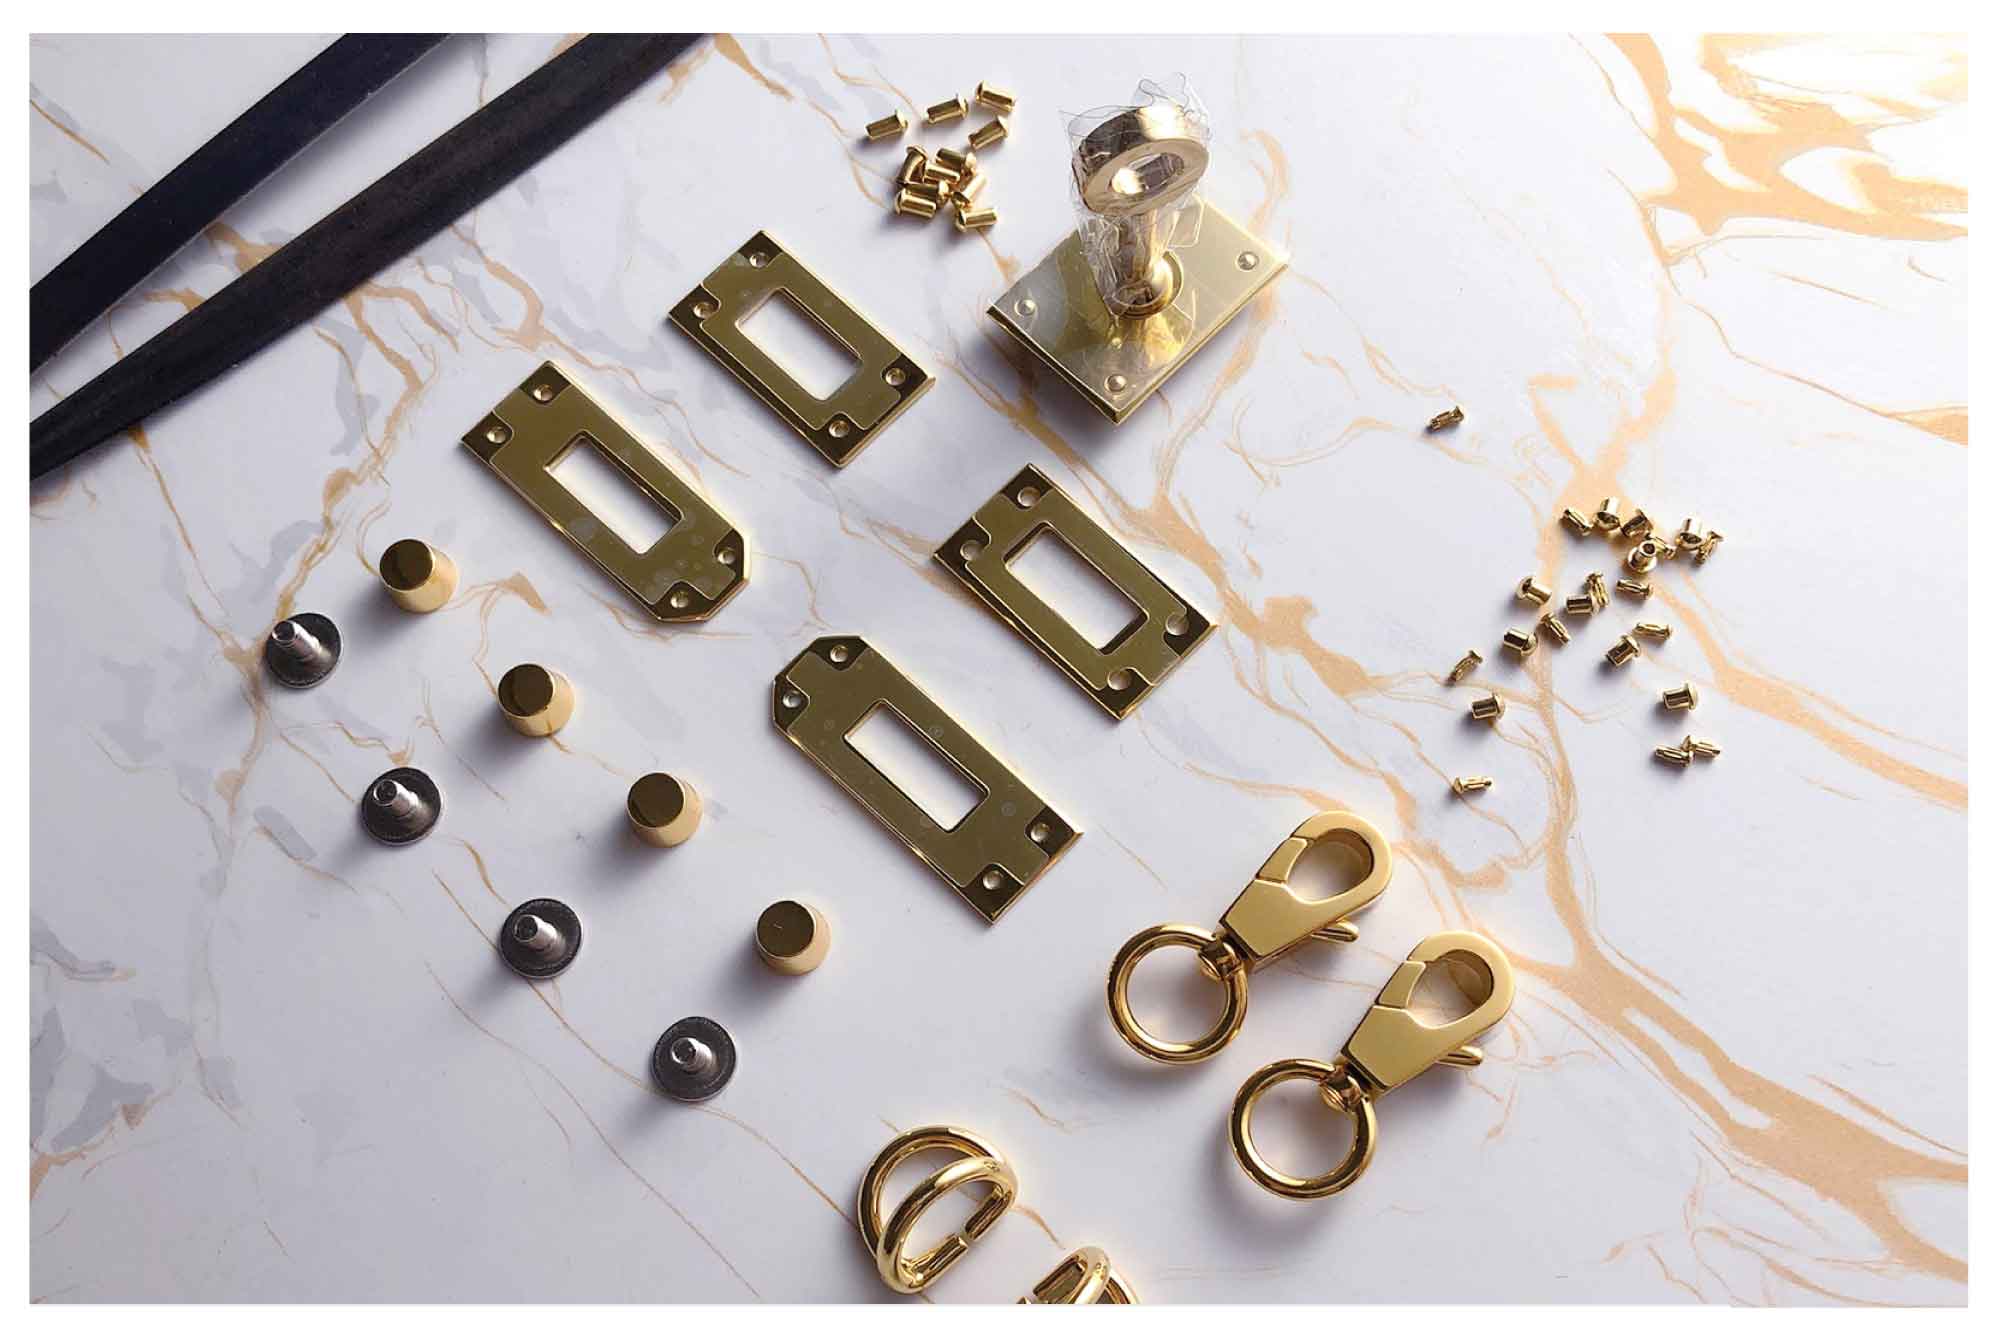
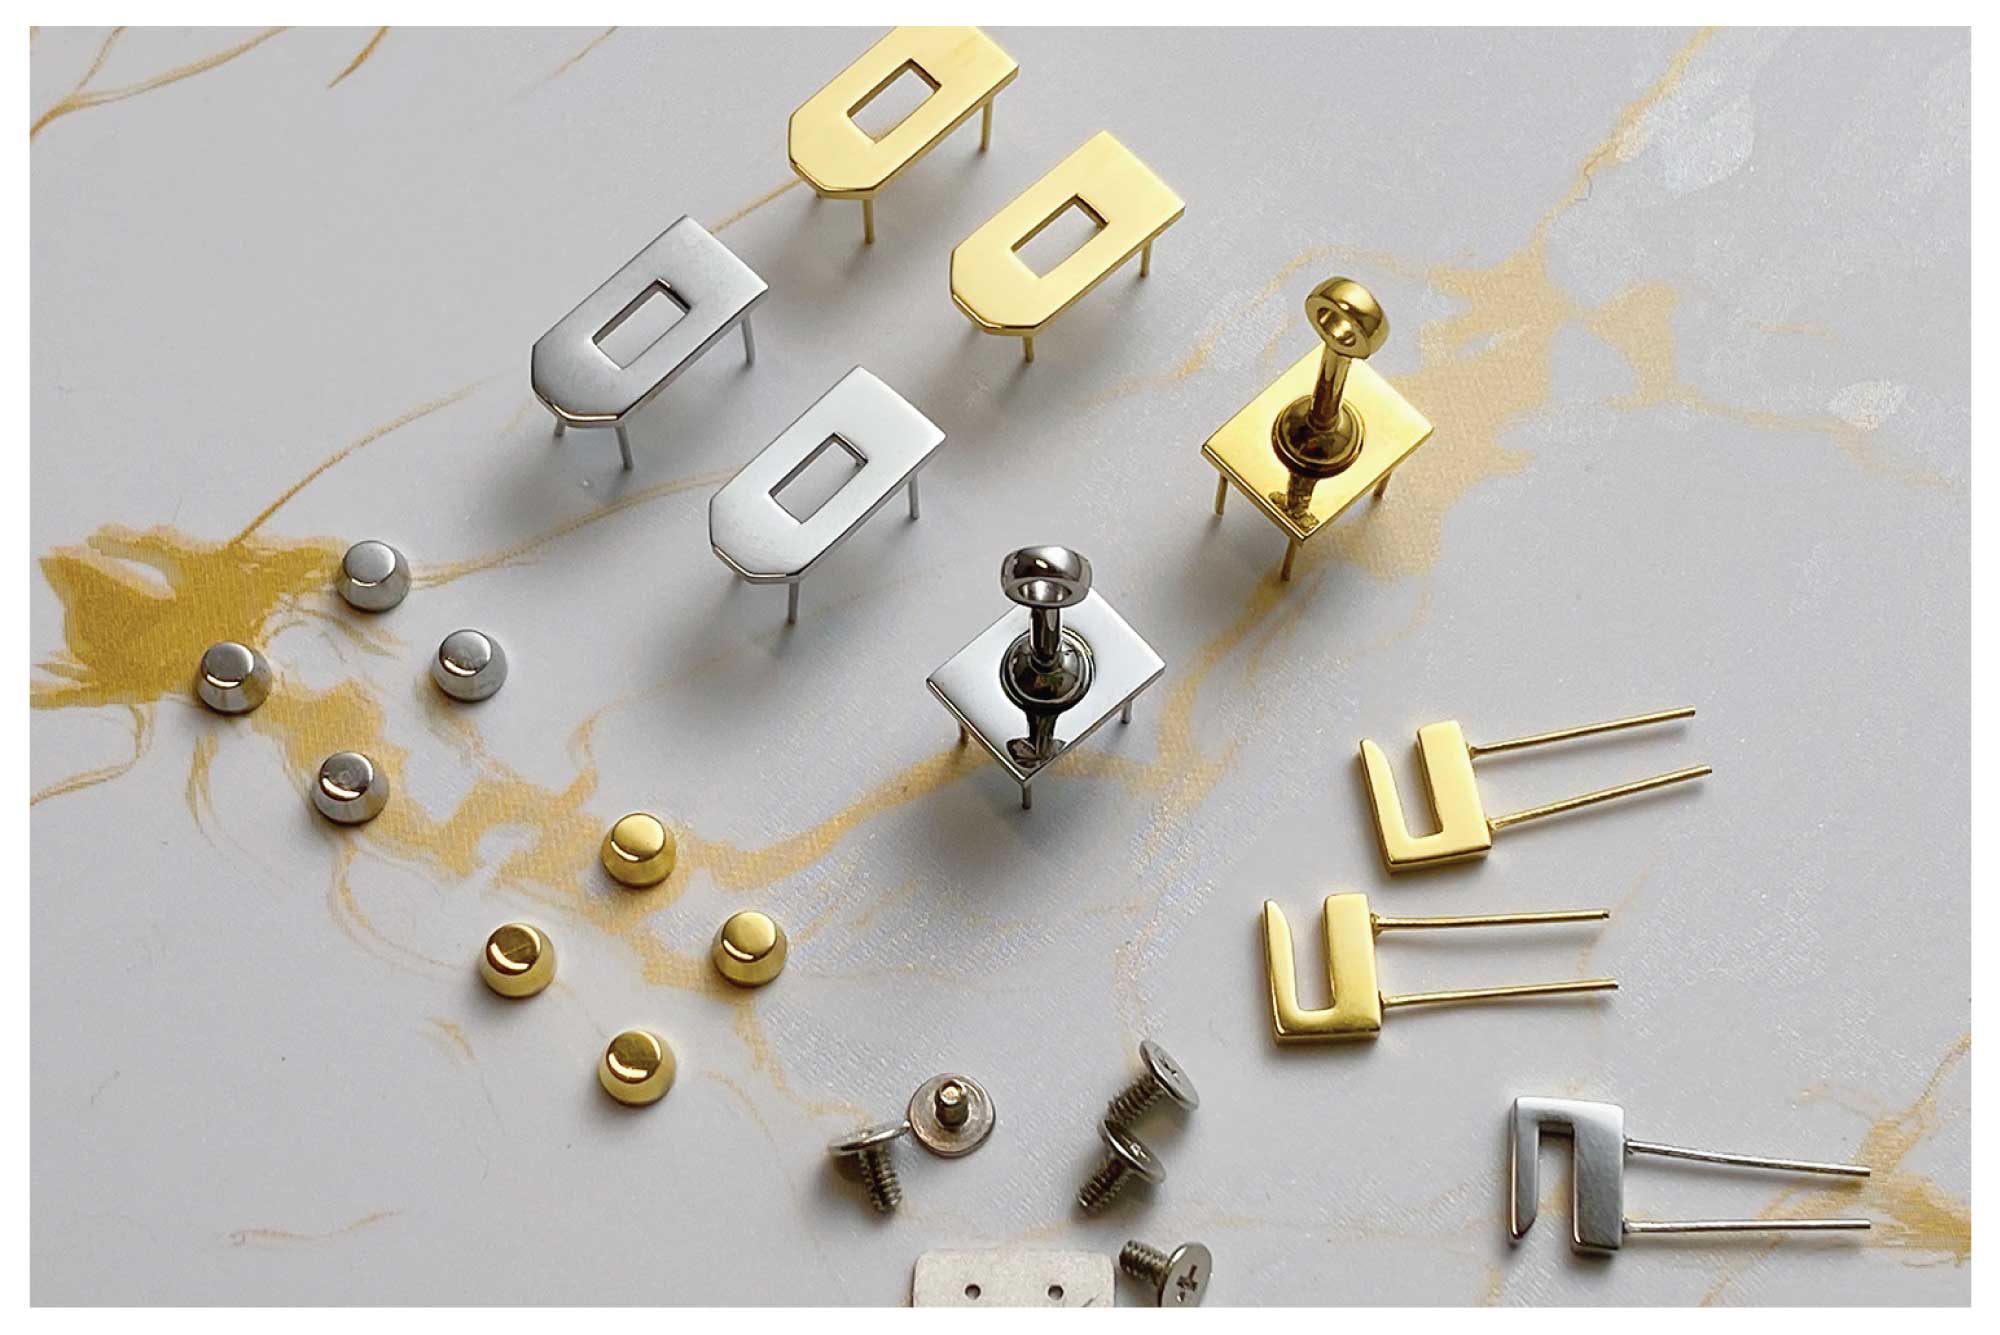
- Stainless steel & zinc alloy
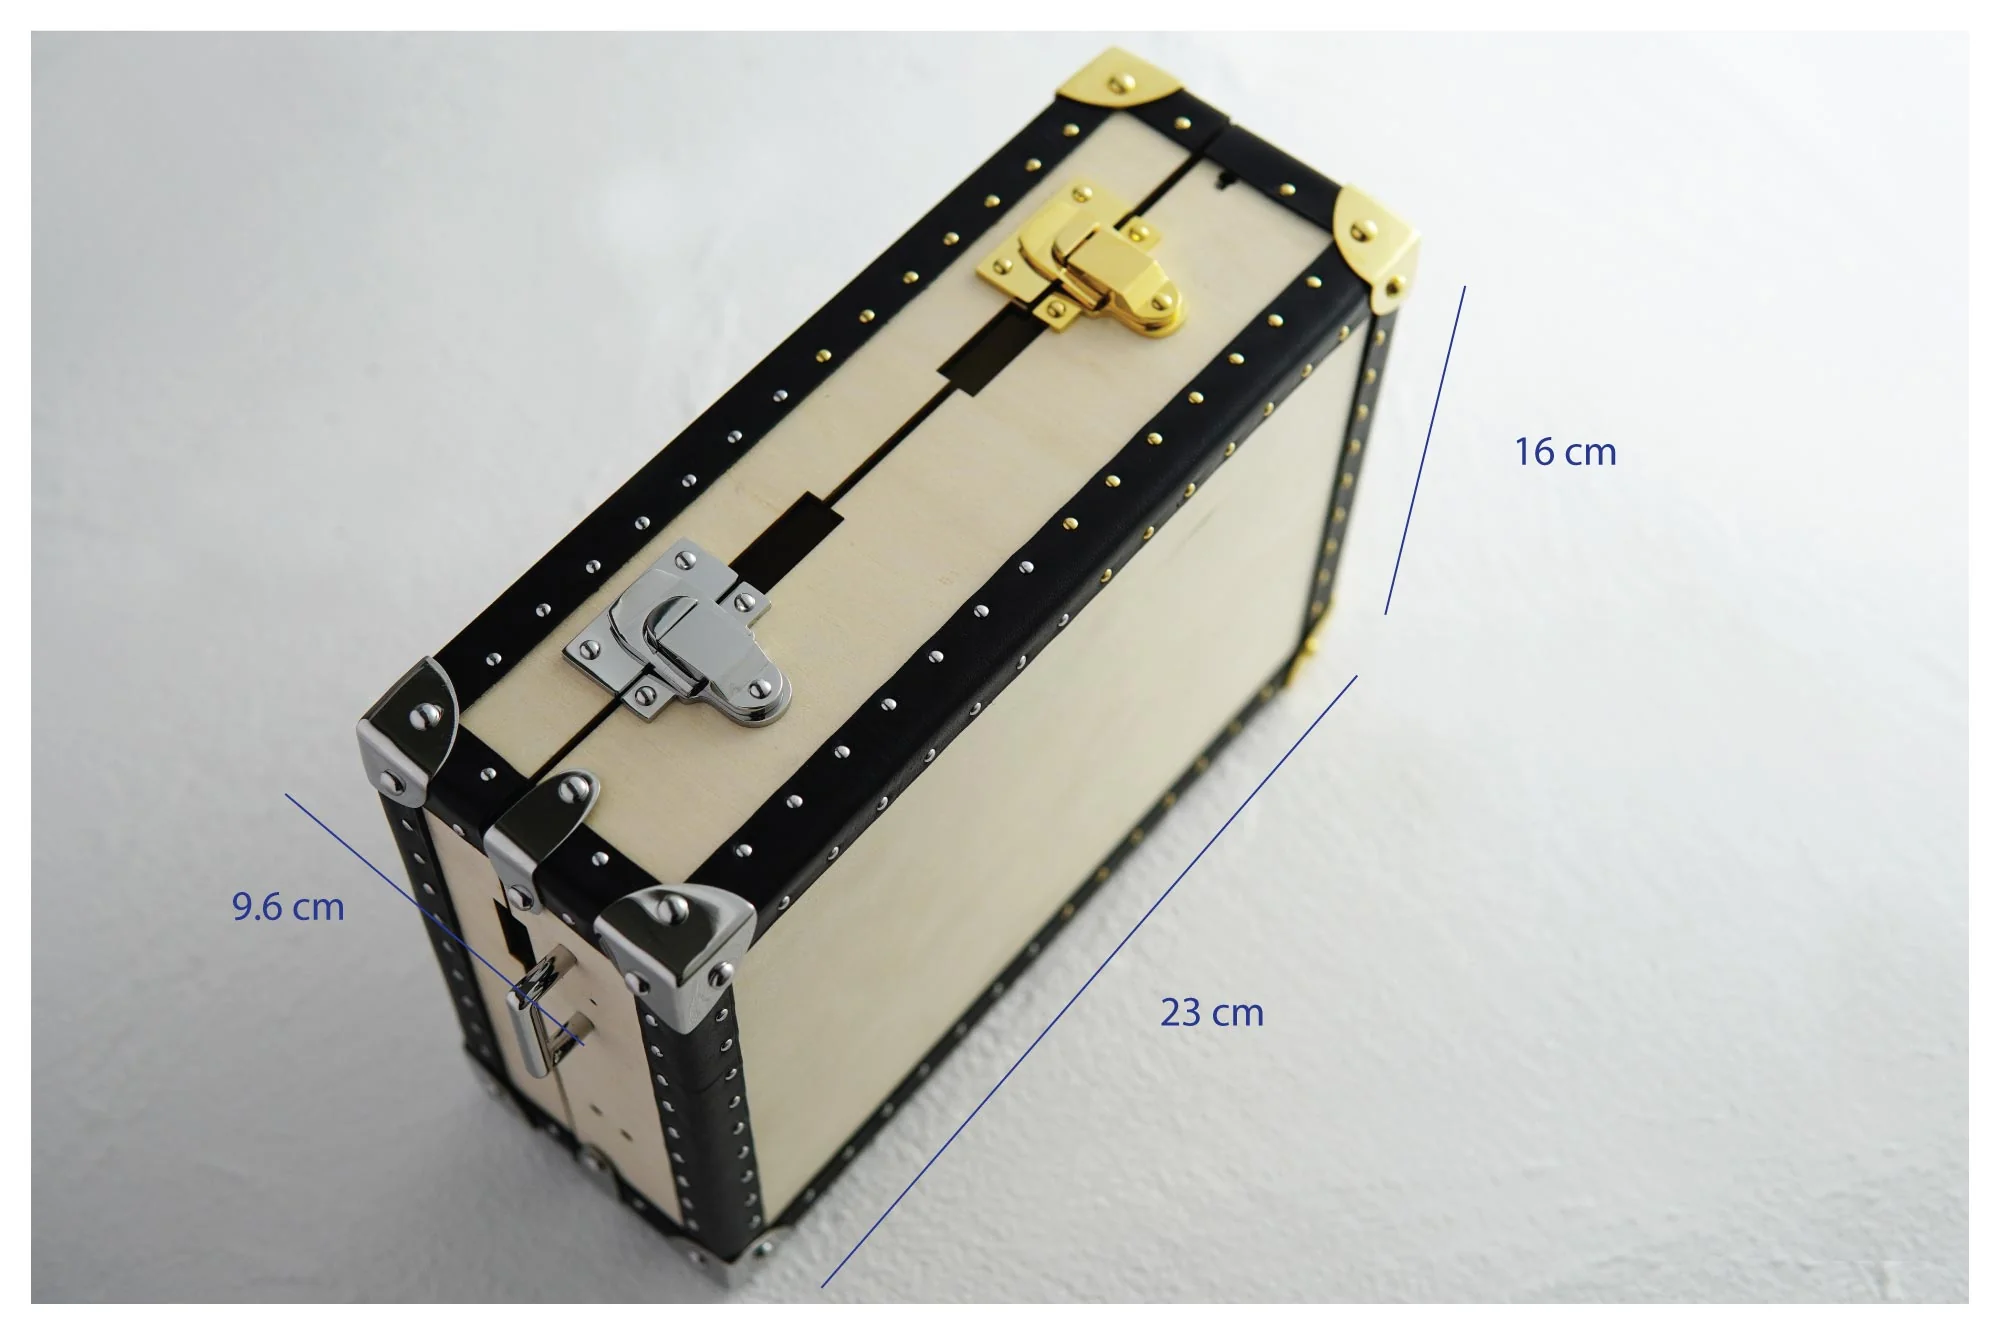
Finished Trunk Size :
- Length x Height x Width : 7 x 4.5 x 2 inches
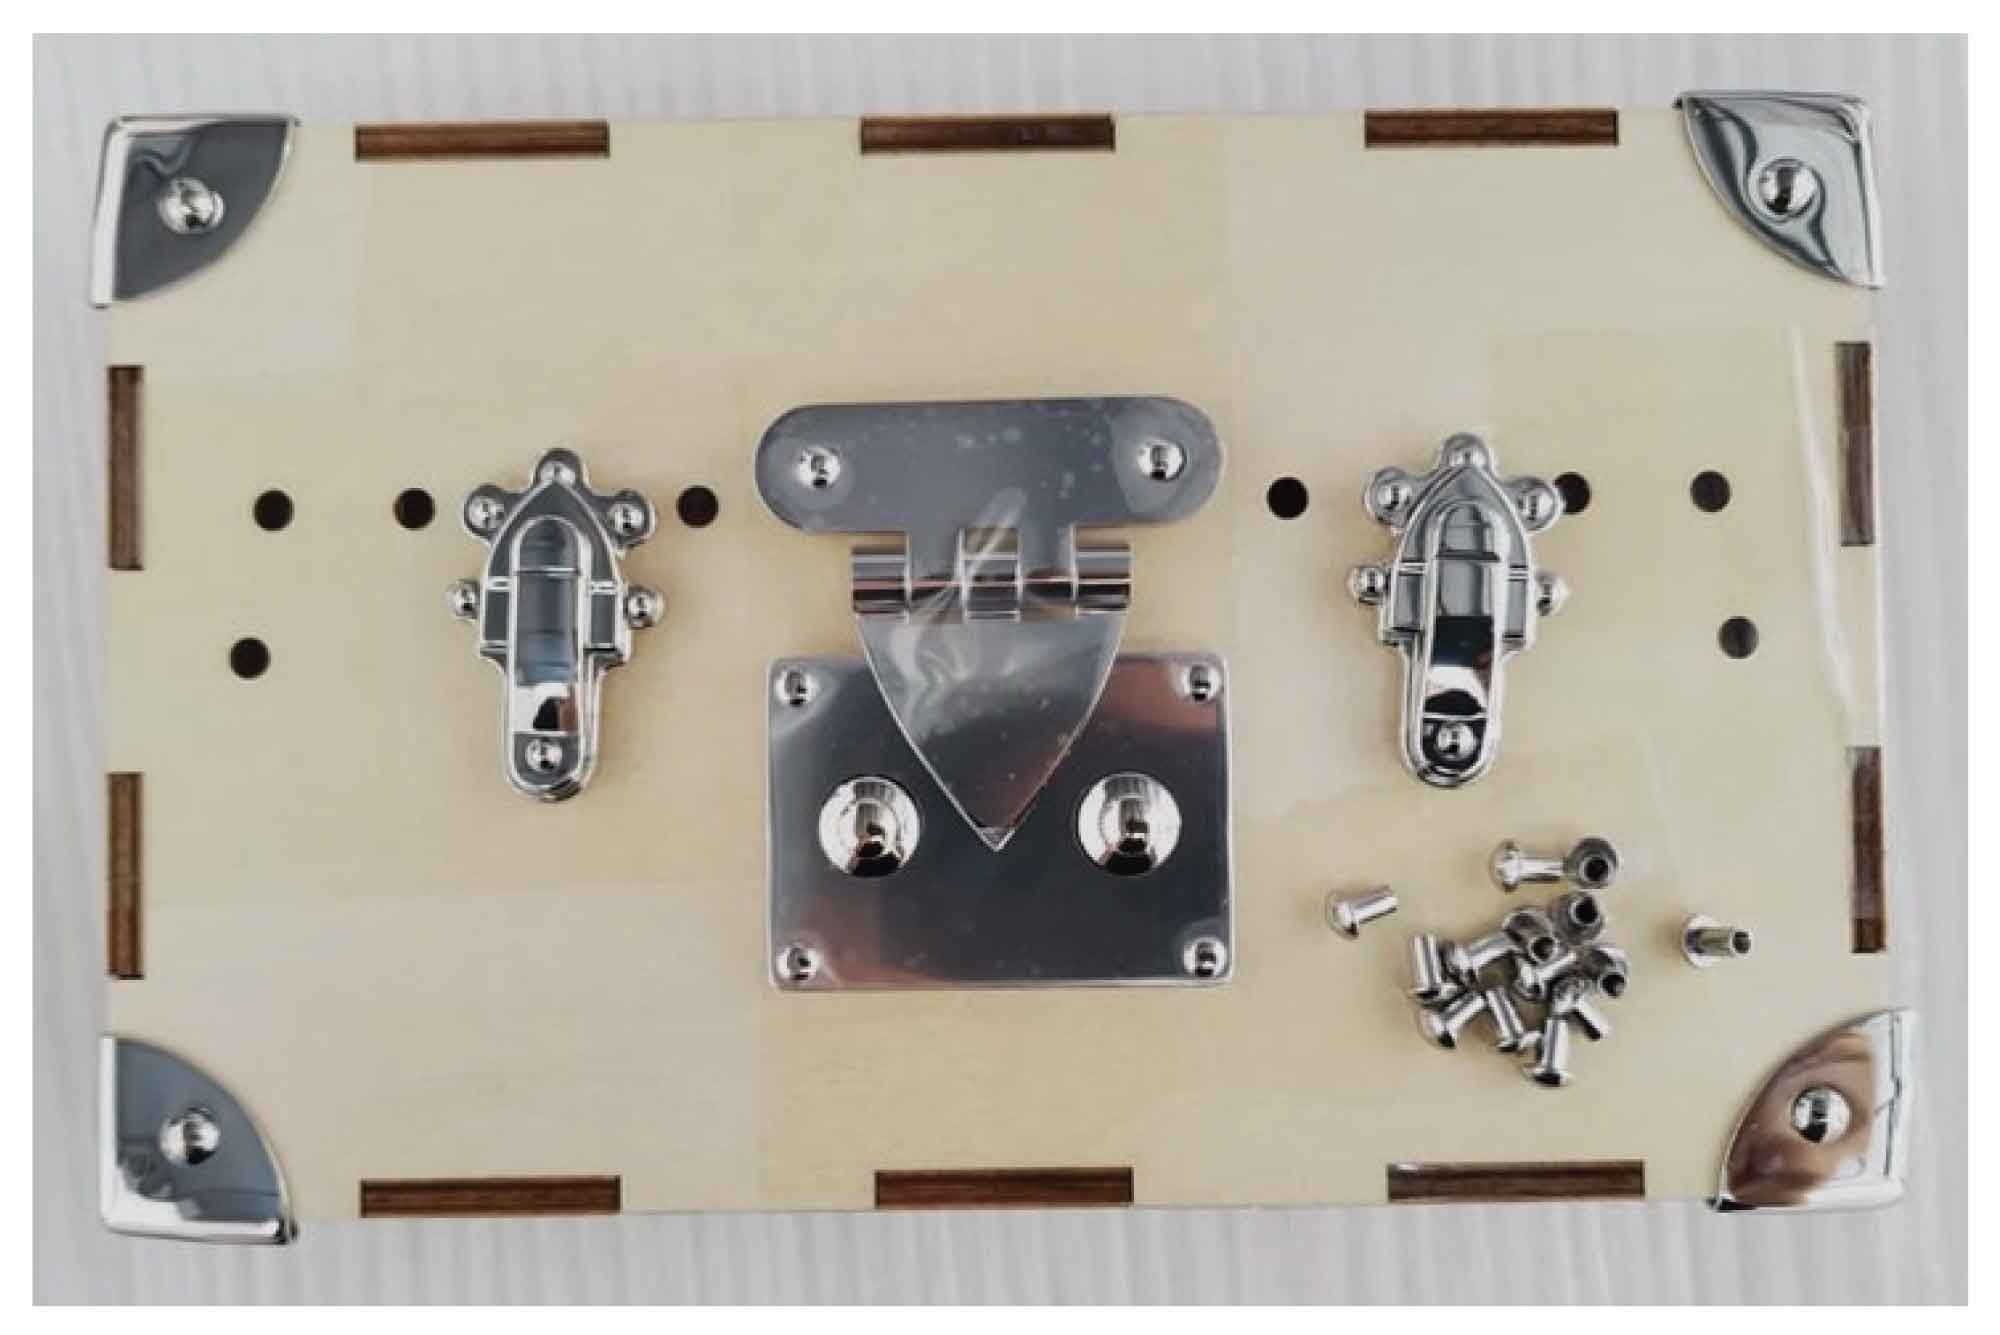
Kit Includes:
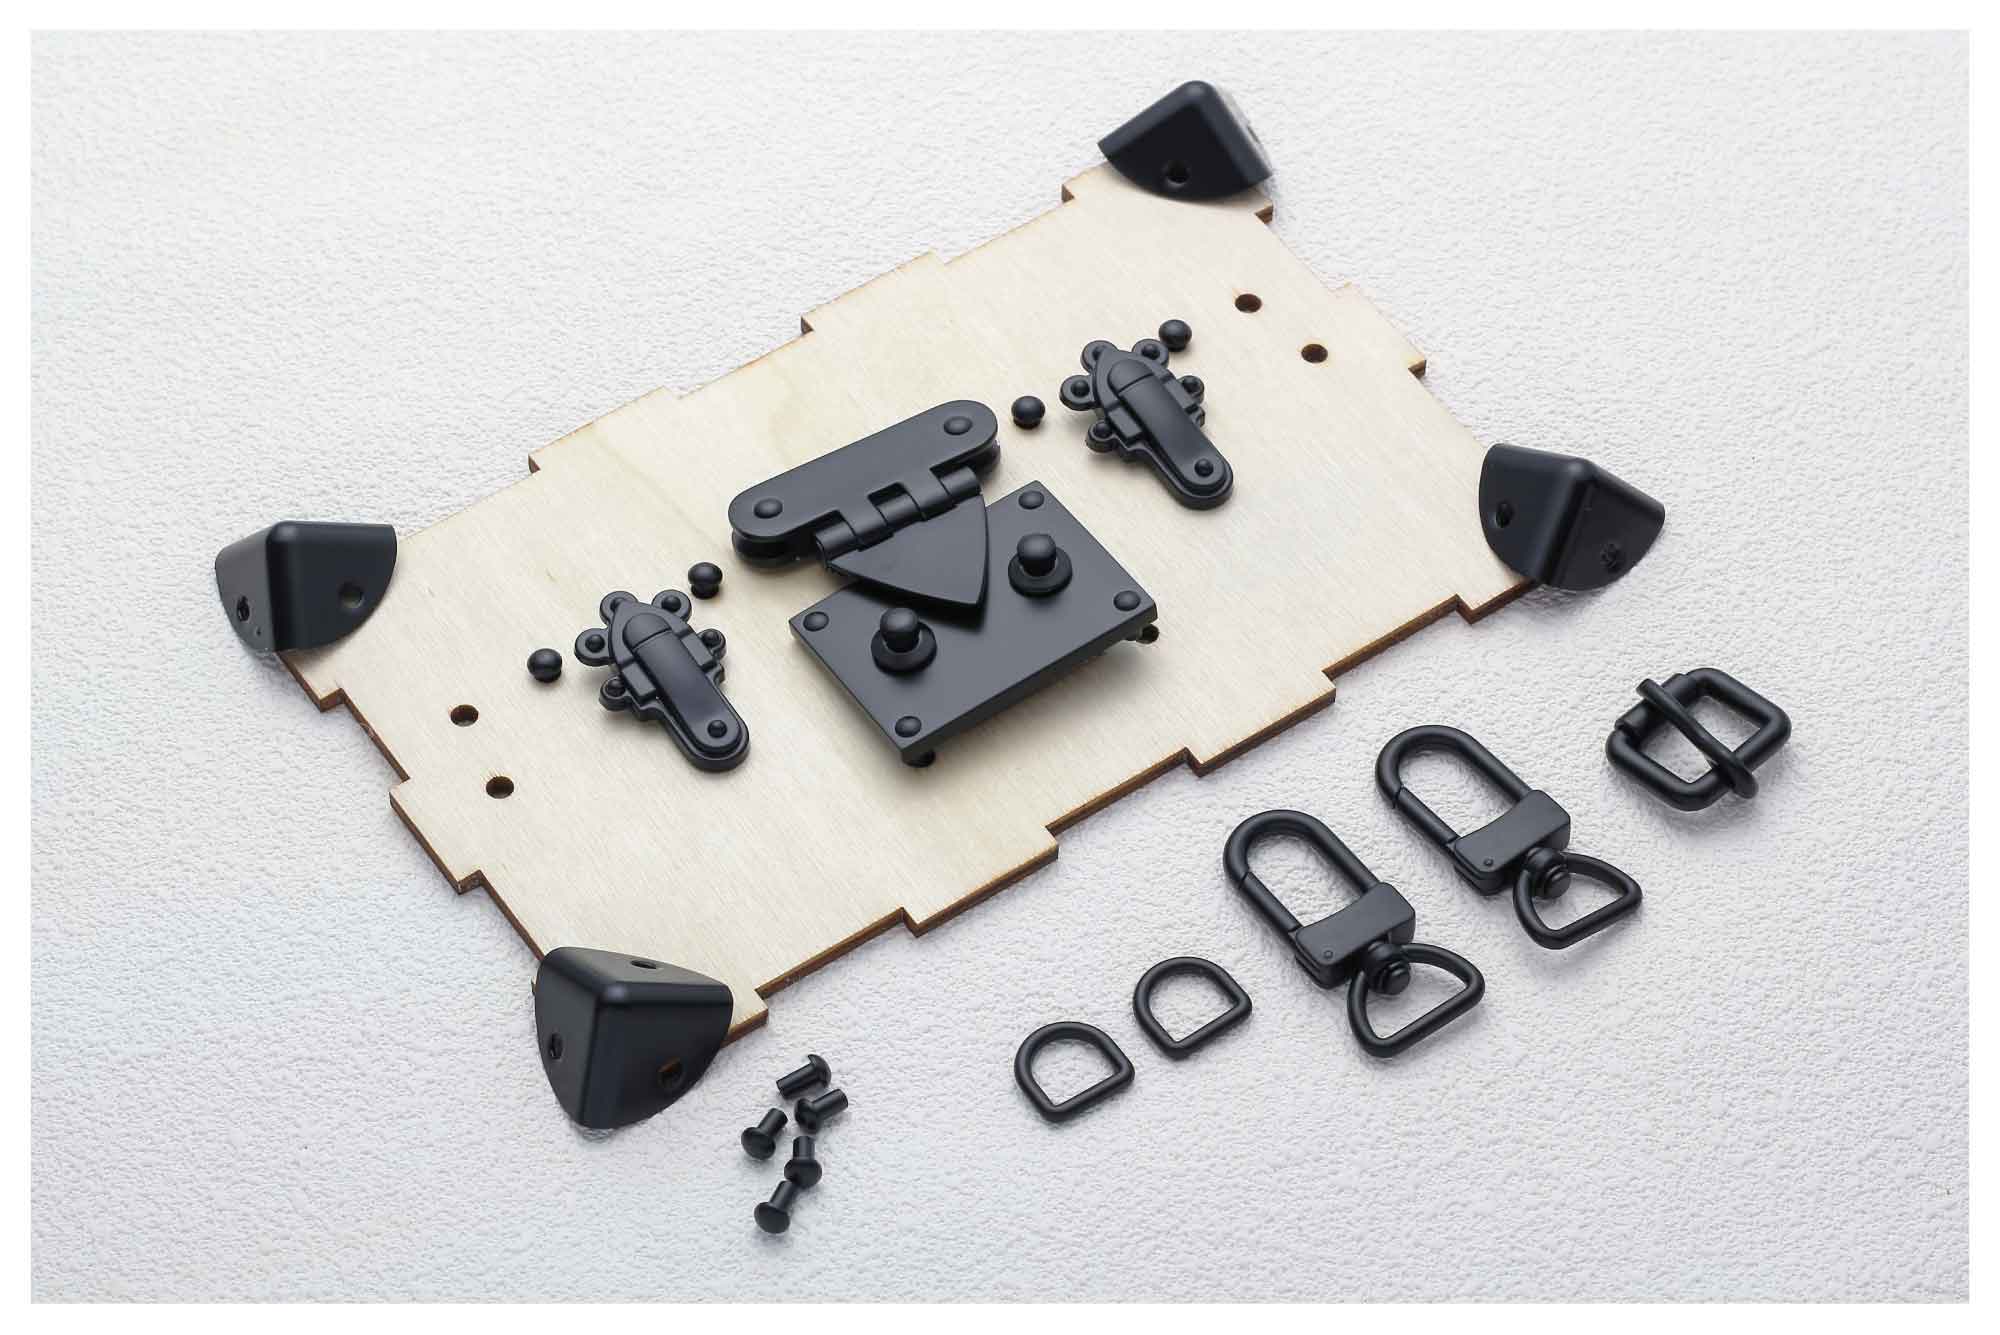
1 x hasp lock for trunk + 2 x clipper closures + 8 x small corners + 50 x rivet screws II + 2 x swivel bolt snaps (15mm) + 2 x D rings (10.5mm) + 1 x roller buckle (16mm) + 4 x magnets
Trunk Bag Crafting Instructions:
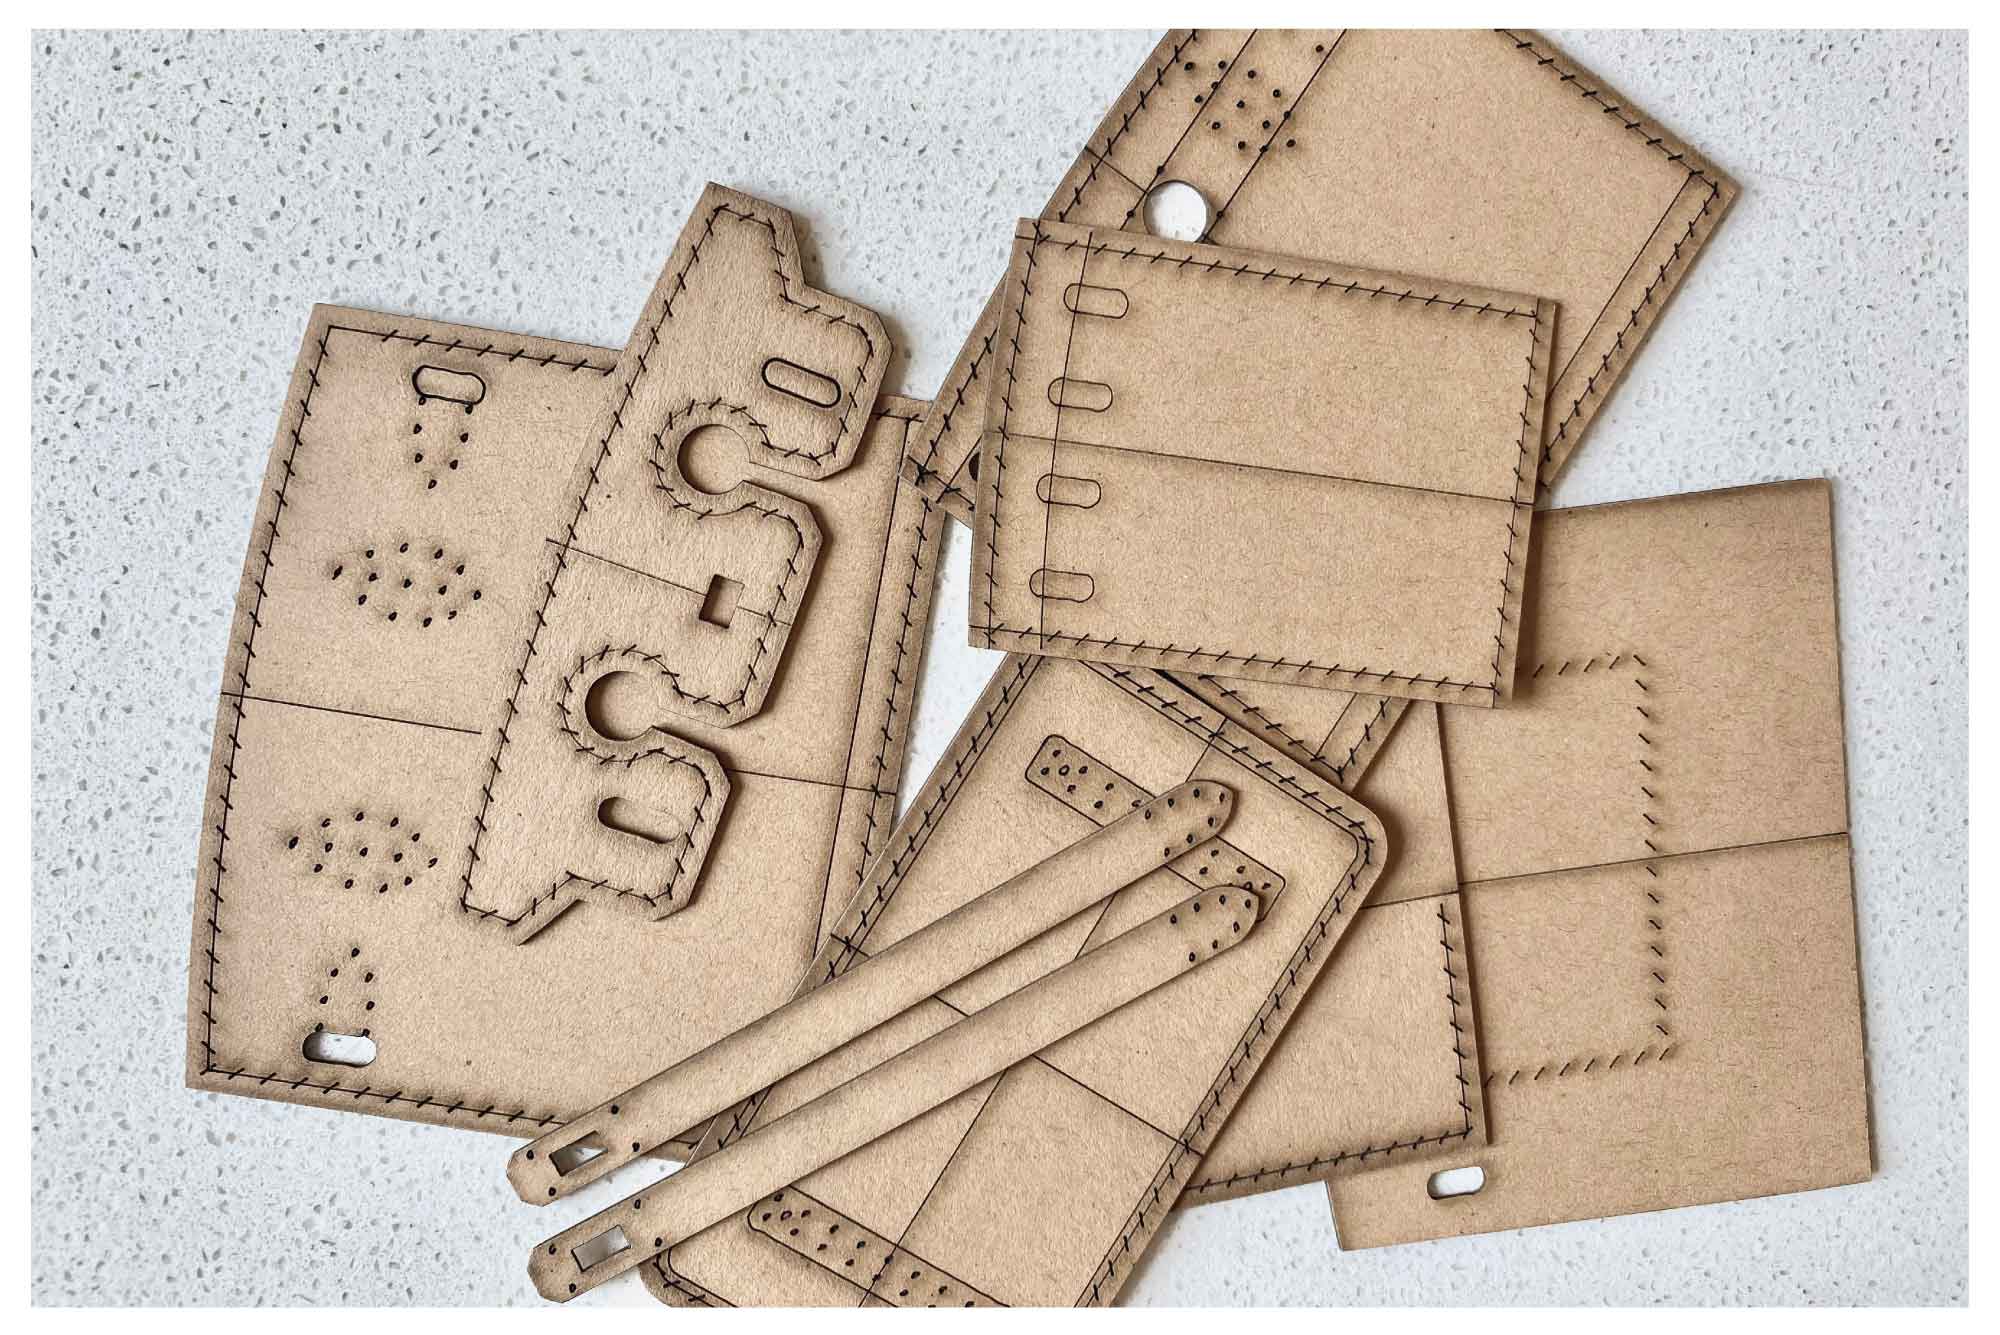
- Cut the Leather Pieces: Using the provided template, carefully cut all leather pieces required for the bag.
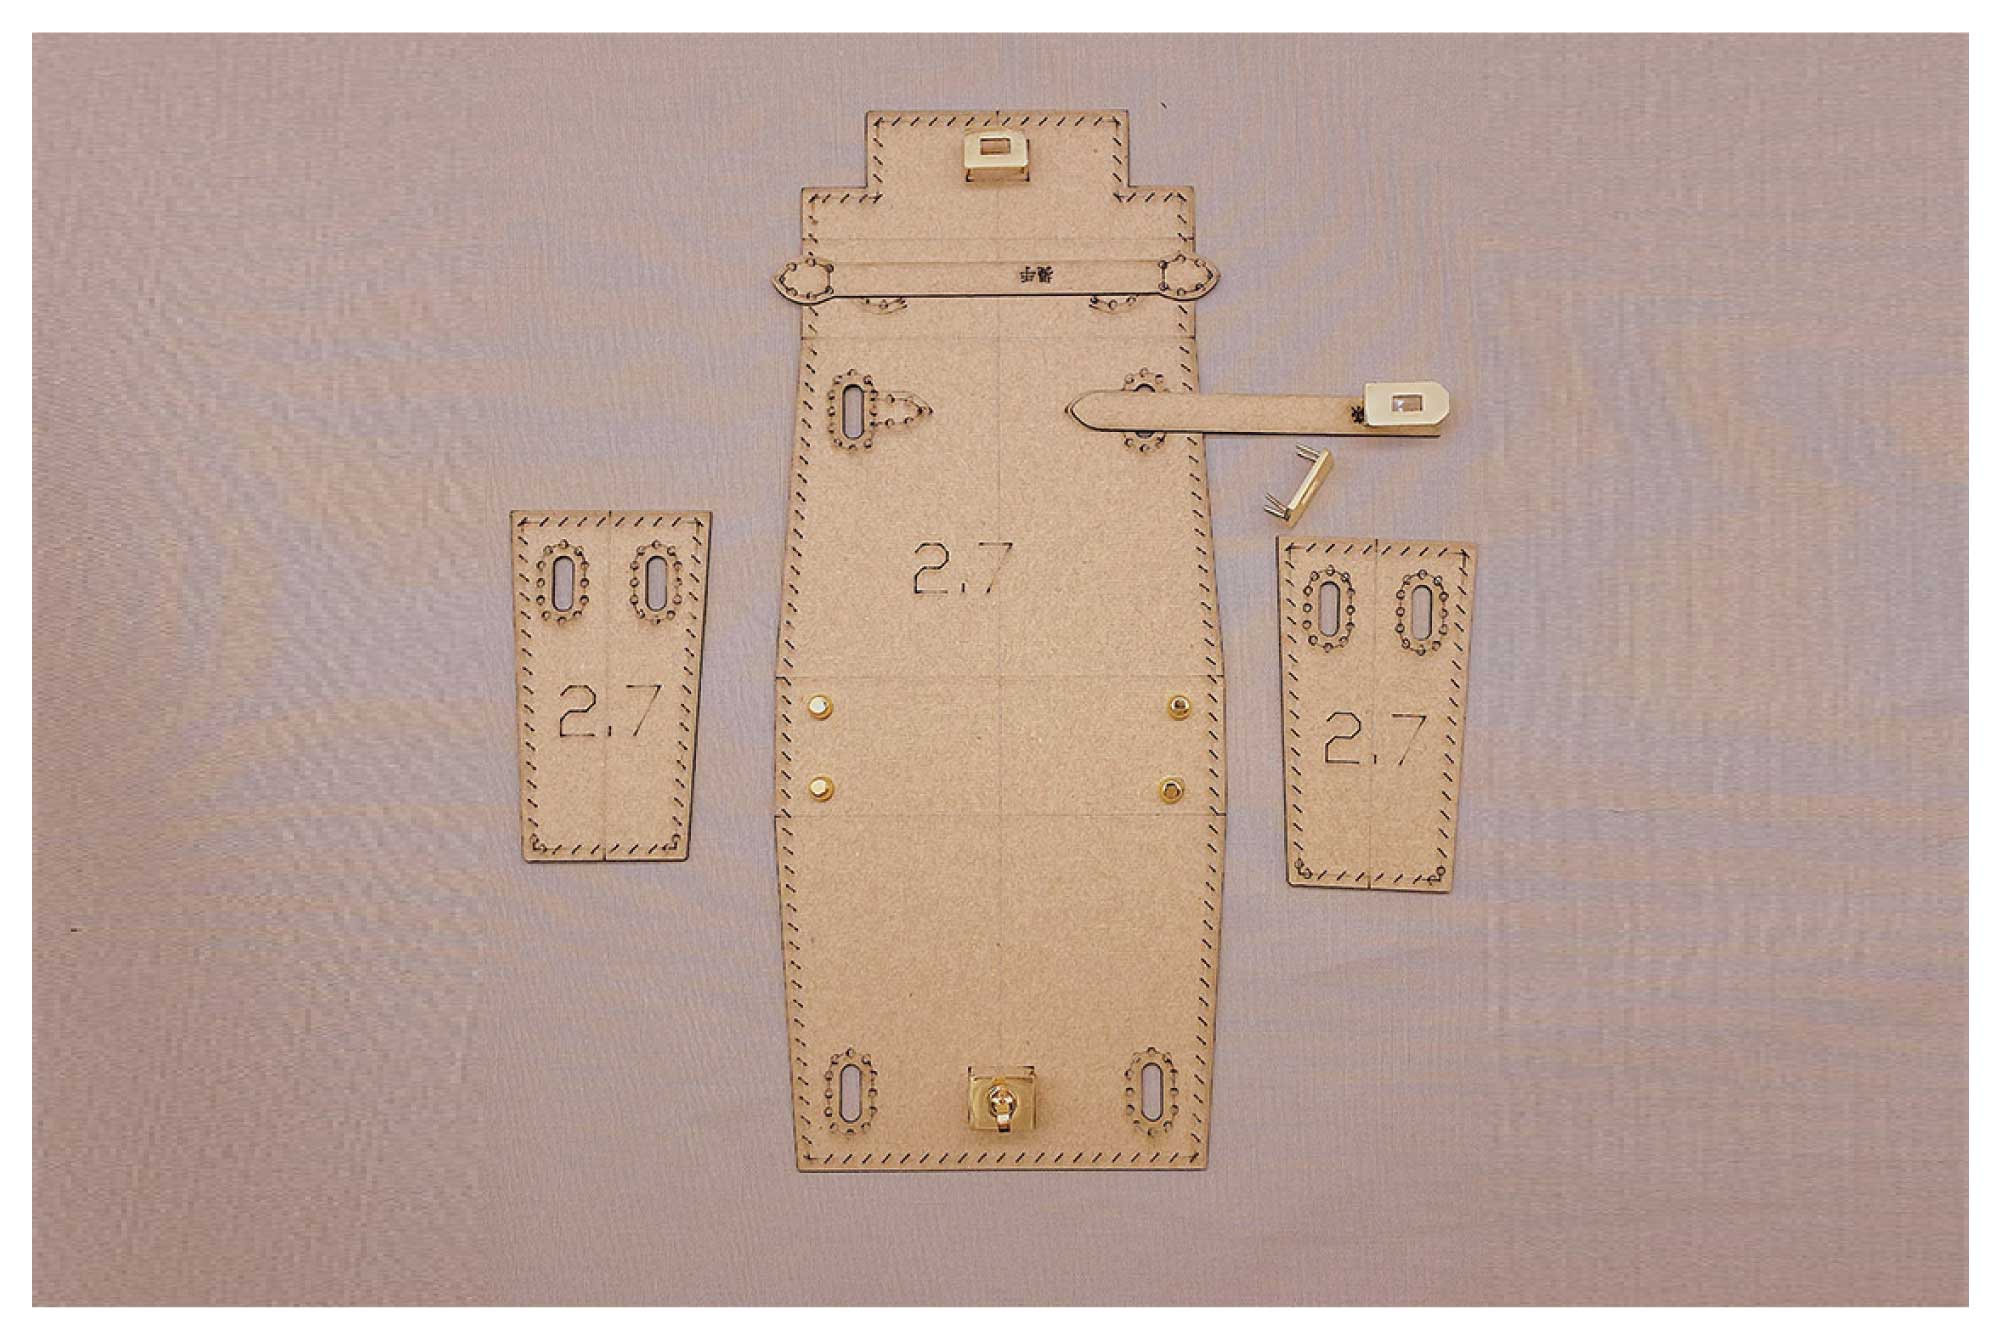
- Assemble the Wooden Box: Assemble the wooden components to form the trunk structure. Secure the joints with tape for added stability.
- Mark and Punch Holes: Use the assembled wooden box as a guide to mark and punch the necessary holes in the leather.
- Attach Magnets and Lining: Position the magnets at the designated points on the wooden box, then apply the interior leather to the box joints to secure the lining.
- Install Hardware: Finally, attach all hardware pieces to complete your trunk bag.
DESCRIPTION:
Unleash your creativity with this DIY Trunk Bag Kit, featuring all the essential components to craft a stunning hard-case bag. The kit includes premium hardware and a sturdy wooden frame, allowing you to mix and match leather for a fully customized look. Designed for intermediate leathercrafters, this kit is the perfect blend of craftsmanship and creativity.
Material :
- Stainless steel & zinc alloy
Finished Trunk Size :
- Length x Height x Width : 7 x 4.5 x 2 inches
Kit Includes:
1 x hasp lock for trunk + 2 x clipper closures + 8 x small corners + 50 x rivet screws II + 2 x swivel bolt snaps (15mm) + 2 x D rings (10.5mm) + 1 x roller buckle (16mm) + 4 x magnets
Trunk Bag Crafting Instructions:
- Cut the Leather Pieces: Using the provided template, carefully cut all leather pieces required for the bag.
- Assemble the Wooden Box: Assemble the wooden components to form the trunk structure. Secure the joints with tape for added stability.
- Mark and Punch Holes: Use the assembled wooden box as a guide to mark and punch the necessary holes in the leather.
- Attach Magnets and Lining: Position the magnets at the designated points on the wooden box, then apply the interior leather to the box joints to secure the lining.
- Install Hardware: Finally, attach all hardware pieces to complete your trunk bag.
Original: $5.40
-70%$5.40
$1.62Description
DESCRIPTION:
Unleash your creativity with this DIY Trunk Bag Kit, featuring all the essential components to craft a stunning hard-case bag. The kit includes premium hardware and a sturdy wooden frame, allowing you to mix and match leather for a fully customized look. Designed for intermediate leathercrafters, this kit is the perfect blend of craftsmanship and creativity.
Material :
- Stainless steel & zinc alloy
Finished Trunk Size :
- Length x Height x Width : 7 x 4.5 x 2 inches
Kit Includes:
1 x hasp lock for trunk + 2 x clipper closures + 8 x small corners + 50 x rivet screws II + 2 x swivel bolt snaps (15mm) + 2 x D rings (10.5mm) + 1 x roller buckle (16mm) + 4 x magnets
Trunk Bag Crafting Instructions:
- Cut the Leather Pieces: Using the provided template, carefully cut all leather pieces required for the bag.
- Assemble the Wooden Box: Assemble the wooden components to form the trunk structure. Secure the joints with tape for added stability.
- Mark and Punch Holes: Use the assembled wooden box as a guide to mark and punch the necessary holes in the leather.
- Attach Magnets and Lining: Position the magnets at the designated points on the wooden box, then apply the interior leather to the box joints to secure the lining.
- Install Hardware: Finally, attach all hardware pieces to complete your trunk bag.